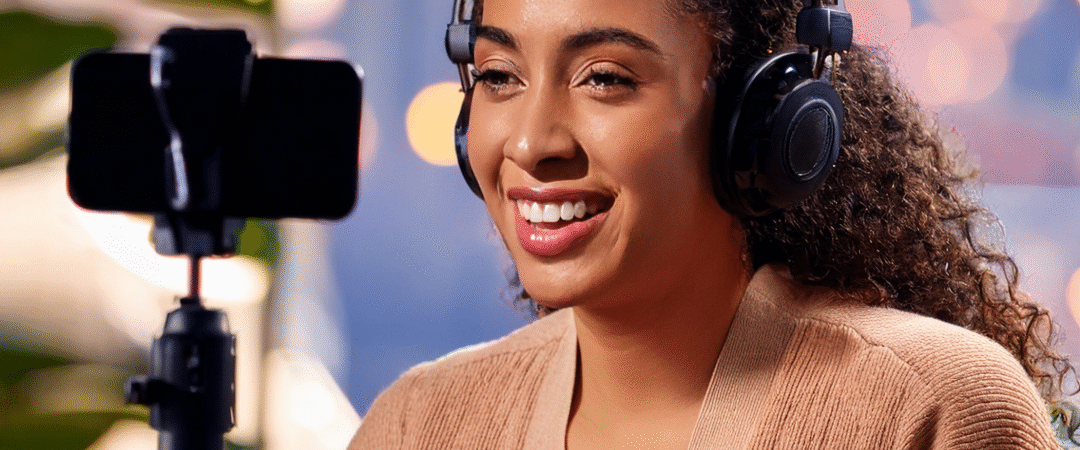
Live streaming on YouTube has become a powerful way to connect with your audience in real-time, build community, and even monetize your content. Whether you’re an aspiring gamer, an educational content creator, or simply want to share your daily life, here’s a comprehensive guide to help you become a successful YouTube live streamer.
1. Meeting the Requirements
Before you can hit that “Go Live” button, there are a few essential steps to ensure your channel is ready:
- Create and Verify Your Channel: You’ll need a YouTube (and thus Google) account and a YouTube channel. Once you have a channel, you’ll need to verify it with a phone number. This is distinct from the general YouTube verification badge.
- Enable Live Streaming: After verification, live streaming might take up to 24 hours to become active on your account. Be patient!
- Subscriber Count for Mobile: To live stream directly from your mobile device, you need at least 50 subscribers. For full public streaming and monetization features on mobile, you’ll generally need 1,000+ subscribers. However, there’s no subscriber limit for webcam or encoder streaming from a desktop.
- Age Requirement: Starting July 22, 2025, independent live streamers must be at least 16 years old. If you’re 13-15, you’ll need visible adult supervision during your broadcasts.
2. Essential Equipment for Quality Streams
While you can start with just your smartphone or a basic webcam, investing in better gear will significantly enhance your stream quality and viewer experience.
- Camera: Your smartphone camera is a good starting point for mobile streaming. For desktop setups, a dedicated webcam (e.g., Logitech BRIO) or a DSLR/mirrorless camera (e.g., Sony Alpha, Fujifilm X-T5) with a capture card will offer superior video quality.
- Microphone: Clear audio is paramount! While built-in mics can work, a good external microphone (e.g., Rode NT-USB, Blue Yeti, Shure MV7) will make a noticeable difference. Consider USB microphones for simplicity or XLR microphones for professional-grade audio, often requiring an audio interface or mixer.
- Lighting: Good lighting is crucial for a professional look. Natural light is free and effective, but ring lights or softboxes can provide consistent illumination, especially in indoor settings.
- Internet Connection: A stable and fast internet connection, ideally fiber optic, is vital to prevent buffering and maintain high-quality video.
- Computer Specifications: If you’re streaming from a computer, ensure it has enough processing power and RAM to handle the encoding. Aim for at least 16GB of RAM and an Intel Core i7 or AMD Ryzen 7 processor for smooth performance.
- Encoder Software (for advanced setups): For more complex streams involving multiple cameras, screen sharing, or overlays, you’ll need encoding software. Popular free options include OBS Studio (Open Broadcaster Software), while Streamlabs OBS offers a more user-friendly interface with integrated alerts and widgets.
3. Setting Up Your Stream
Once you have your equipment and software, it’s time to configure your stream.
- Choose Your Stream Type: YouTube offers three main ways to go live:
- Mobile: Easiest for on-the-go content (requires 50+ subscribers).
- Webcam: Simple setup from your desktop or laptop.
- Encoder (Software): Offers the most flexibility for professional-looking streams.
- YouTube Live Control Room: This is your hub for managing live streams. You’ll find options to create new streams, manage scheduled ones, and access your stream key (essential for connecting encoder software).
- Stream Settings: Before going live, set your title, description, and privacy settings (public, unlisted, or private). You can also enable or disable live chat, set age restrictions, and configure monetization options.
- Sources in OBS/Streamlabs: If using encoder software, add your video sources (camera, display capture, game capture) and audio sources (microphone, desktop audio). Arrange them on your canvas to create your desired layout.
- Test Your Setup: Always do a private test stream before going fully live to check audio, video, and overall performance.
4. Promoting Your Live Stream
Getting viewers to your stream requires effective promotion.
- Schedule in Advance: Announce your streams well in advance, giving your audience time to plan.
- Utilize Social Media: Share your stream link across all your social media platforms. Create teaser content like short clips or images.
- YouTube Features: Use YouTube’s built-in features like the “Live Section” on your channel page to display upcoming events. Encourage viewers to click “Notify Me” for reminders.
- Engage with Your Audience: During the stream, actively interact with live chat, answer questions, and give shout-outs. This fosters a sense of community and keeps viewers engaged.
- Consistency: Establish a regular streaming schedule. Viewers are more likely to tune in if they know when to expect your content.
- Optimize for Discoverability: Use relevant keywords in your titles and descriptions, and create compelling thumbnails. Your live streams can appear in YouTube and Google search results.
5. Monetizing Your Live Streams
Once you’ve built an audience, you can start earning revenue from your live streams.
- Ads: You can enable pre-roll (before the stream) and mid-roll (during the stream) ads. YouTube can automatically insert mid-roll ads at opportune moments.
- Super Chat & Super Stickers: Viewers can pay to highlight their messages in live chat or send animated stickers, providing direct support to creators.
- Channel Memberships: Offer exclusive perks to viewers who become paid members of your channel, such as custom emojis, badges, or members-only content.
Becoming a successful YouTube live streamer takes dedication and consistent effort. By understanding the requirements, investing in good equipment, mastering your setup, promoting effectively, and engaging with your audience, you’ll be well on your way to building a thriving live streaming presence.
